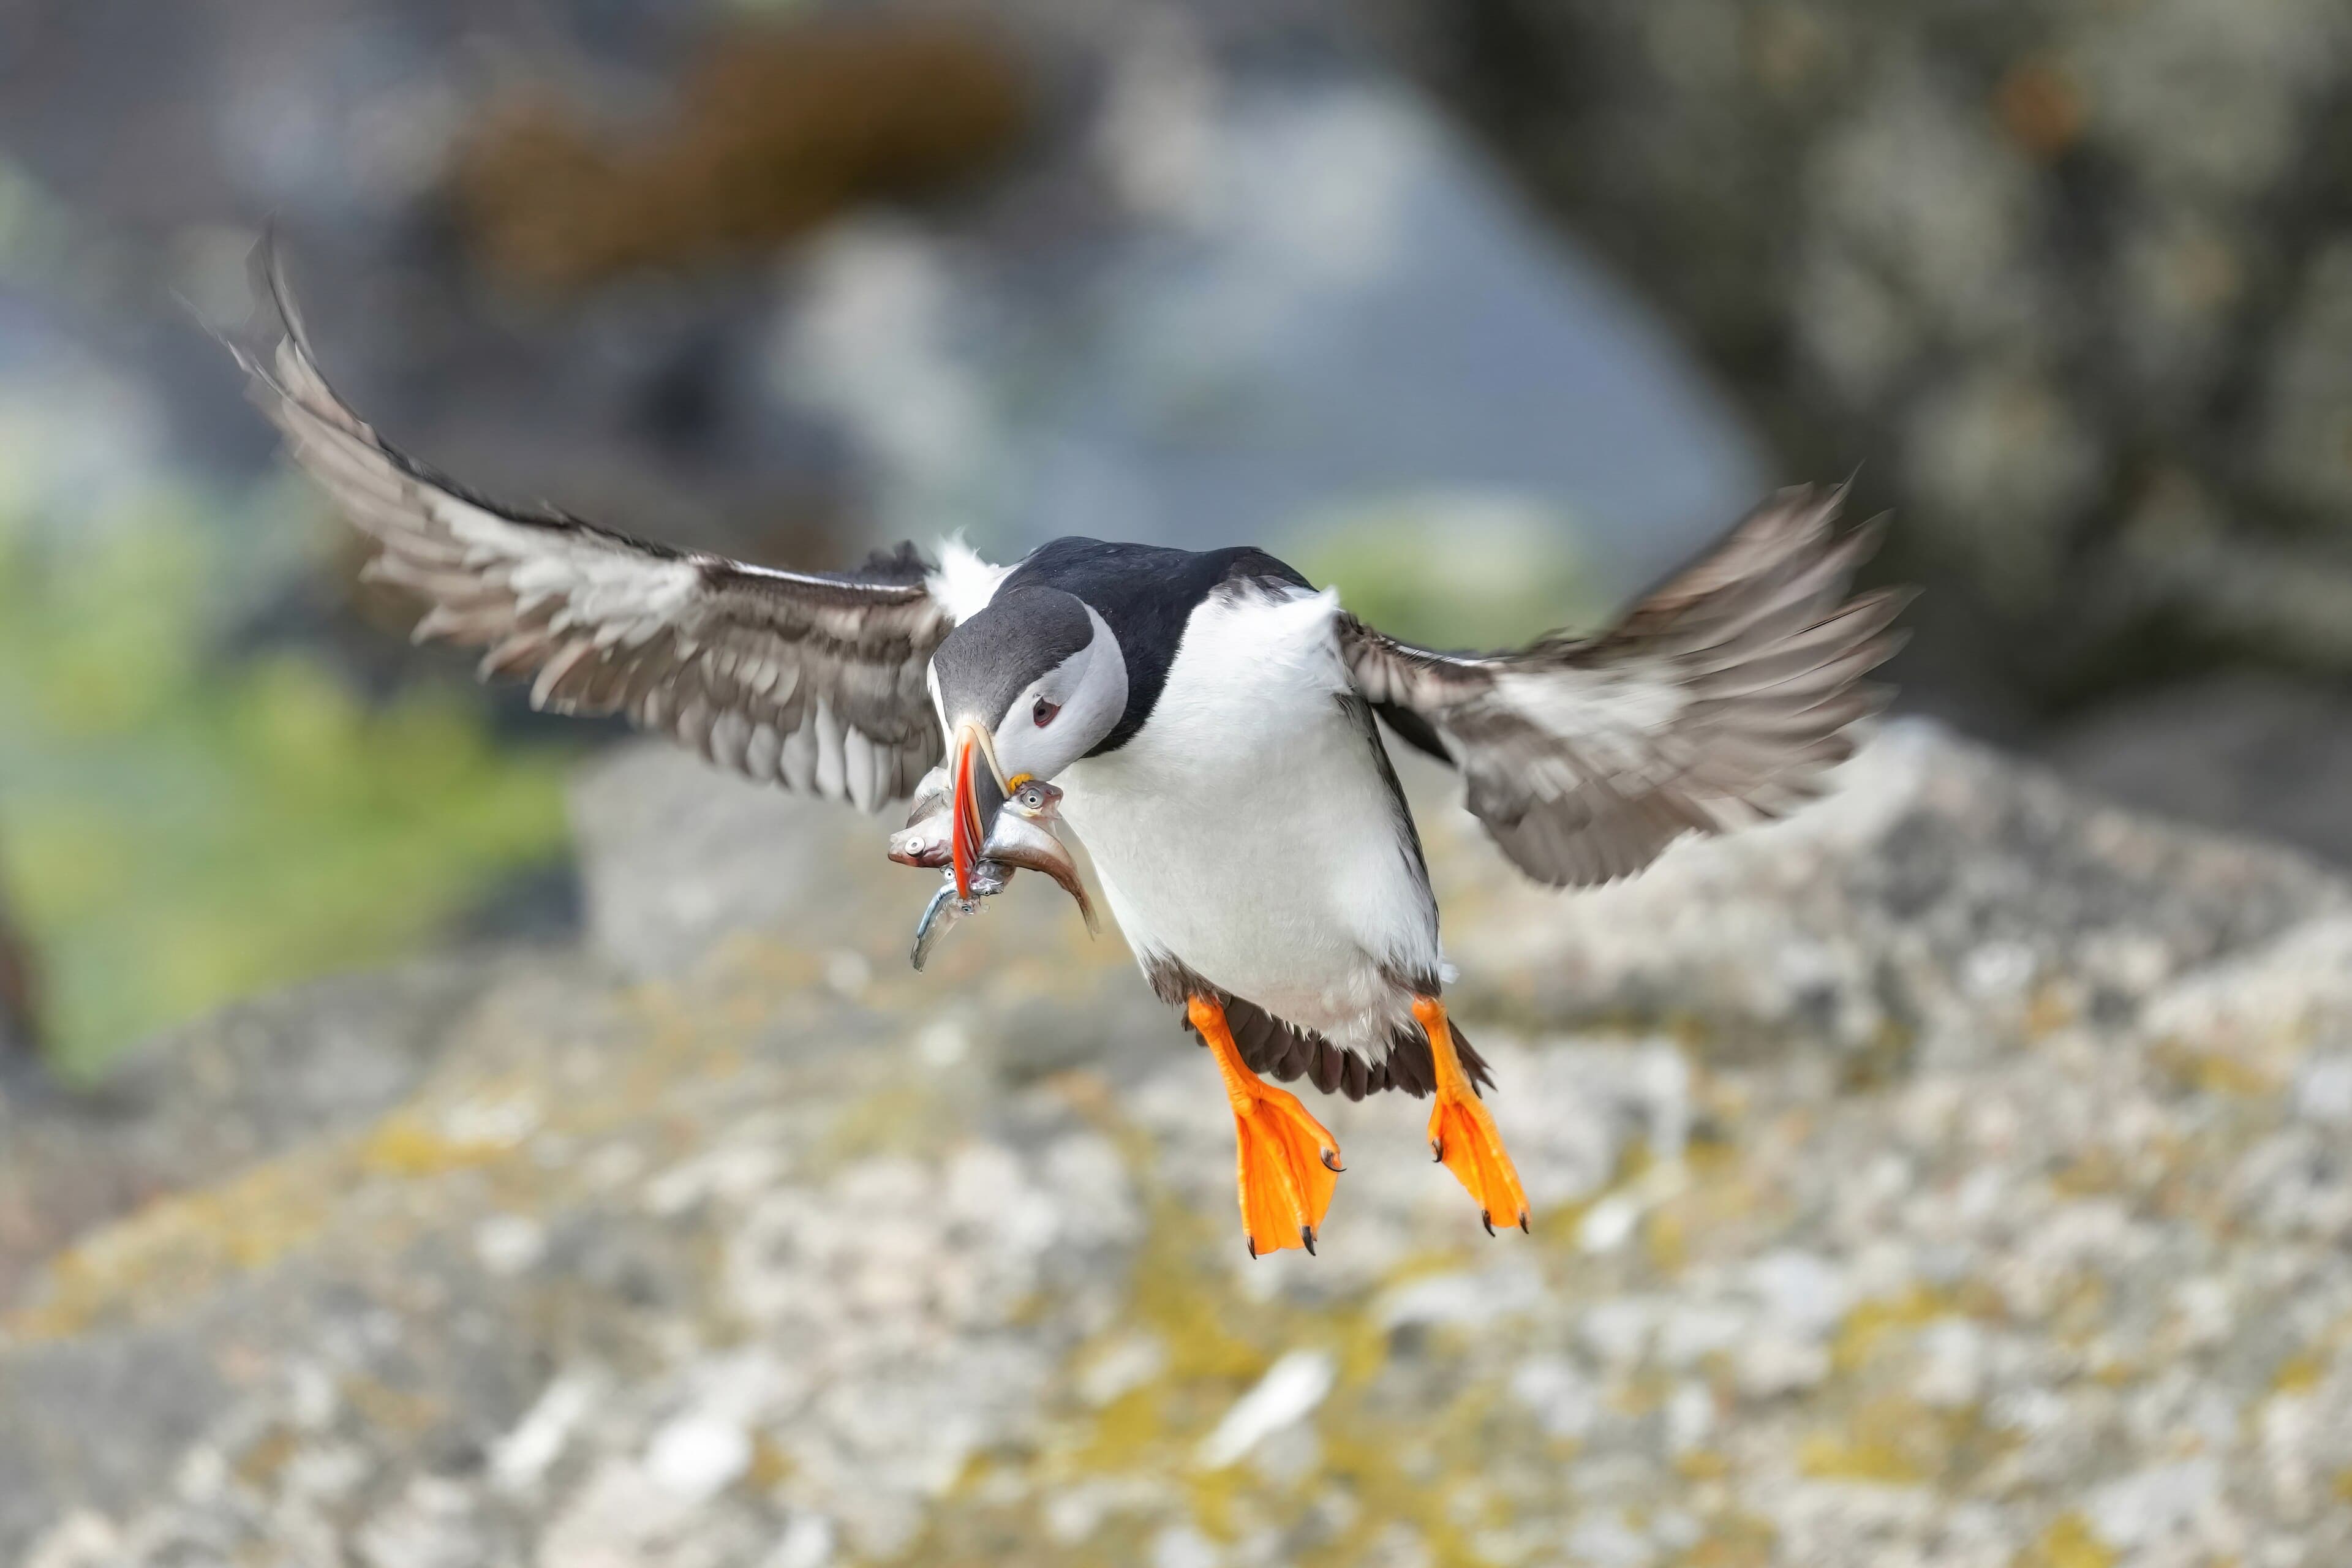
Photographed at Flatey, Iceland
Camera data: Sony α1496 mmf/6.31/1000 sISO 1000Flatey, Iceland
Wildlife photography camera settings: a field-proven starting point
Shutter speeds for birds and mammals, auto ISO, autofocus modes, back-button focus, burst and RAW: the settings to dial in before the animal appears, and why.
By WLIFE Gear Desk8 min read
Wildlife photography rarely gives you time to think. The moment arrives, lasts a few seconds and is gone, and the camera has to be ready before it starts. That means most of the important decisions are made in the vehicle, in the hide or on the walk in, not with the subject in the viewfinder. The settings below are a starting point that works across cameras and brands. They are not rules; they are defaults to be adjusted once you know what you are facing. We have grouped them by the problem each one solves.
Shutter speed: the first thing to set
Shutter speed decides whether movement is frozen or smeared, and in wildlife work it is usually the setting you protect at the expense of everything else. The right speed depends on how fast the subject moves across the frame, not just how fast it moves in the world. A distant bird at 600 mm crosses the frame far faster than a nearby elephant walking at the same actual speed.
| Subject | Starting shutter speed | Notes |
|---|---|---|
| Birds in flight, small and fast | 1/2000 s to 1/4000 s | Wingtips need the fastest speeds; 1/2000 s is a common minimum |
| Birds in flight, large and slow | 1/1000 s to 1/2000 s | Raptors soaring, herons, geese |
| Mammals walking | 1/500 s to 1/1000 s | Faster if the head is turning or the animal is close |
| Mammals running or hunting | 1/1600 s to 1/3200 s | A cheetah chase needs bird-in-flight speeds |
| Resting animals, portraits | 1/250 s to 1/500 s | Stabilisation helps; watch for head movement |
| Deliberate motion blur | 1/15 s to 1/60 s | Pan with the subject; expect a low keeper rate |
The figures line up with the camera data on the Featured Pictures throughout this site: the bee-eater and cheetah portraits at 1/2000 s, the puffin at 1/1000 s, the breaching humpback at 1/2500 s, the resting lion at 1/400 s. Fast when it moves, slower when it does not, and always faster than you think for anything with wings.
Aperture and auto ISO: let the camera do the arithmetic
For most wildlife, the simplest robust setup is manual exposure mode with auto ISO. You set the shutter speed to protect movement and the aperture to control depth of field, and the camera raises or lowers ISO to keep the exposure correct as the light changes. The alternative, shutter priority, works but leaves the aperture to the camera; aperture priority is risky because the camera will happily choose a shutter speed too slow for a moving animal.
- Set the aperture wide open or close to it on a long lens; depth of field at 500 mm is thin anyway, and you need the light.
- Stop down a little, to f/8 or so, for groups of animals or when you want more of a large animal in focus.
- Set an auto ISO ceiling you are comfortable with on your camera, and raise it rather than let the shutter speed drop.
- Use exposure compensation freely: dark animals against bright sky need plus, white animals on snow or dark backgrounds need minus. Check the histogram, not the preview.
Autofocus: continuous, and let the subject detection work
Use continuous autofocus for everything, including animals that are apparently still. An animal that is still now will not be in two seconds, and continuous mode costs nothing on a stationary subject. Modern cameras offer animal and bird subject detection that finds and tracks the eye; where your camera has it, it should usually be on, with a tracking area that is small enough to pick the right animal when there are several and large enough to hold a bird that moves erratically. For birds in flight, a wider zone with subject detection is often more reliable than a single point you cannot keep on the bird.
Autofocus also benefits from limiting the focus range on lenses that allow it. If every subject will be more than ten metres away, setting the focus limiter to the far range stops the lens hunting through its close range when it loses the subject.
Back-button focus: separate focusing from shooting
By default, half-pressing the shutter button both focuses and meters. Back-button focus moves the focusing to a button under your thumb on the back of the camera, so that the shutter button only takes the picture. The advantage is control: you can focus on an animal, release the button and recompose without the camera refocusing on the background; you can hold the button to track a moving subject continuously; and you can fire the shutter at any moment without the camera first hunting. Almost every camera allows it through custom button settings. It takes a few days to become habit and most wildlife photographers who try it never go back.
Burst mode: more frames, chosen carefully
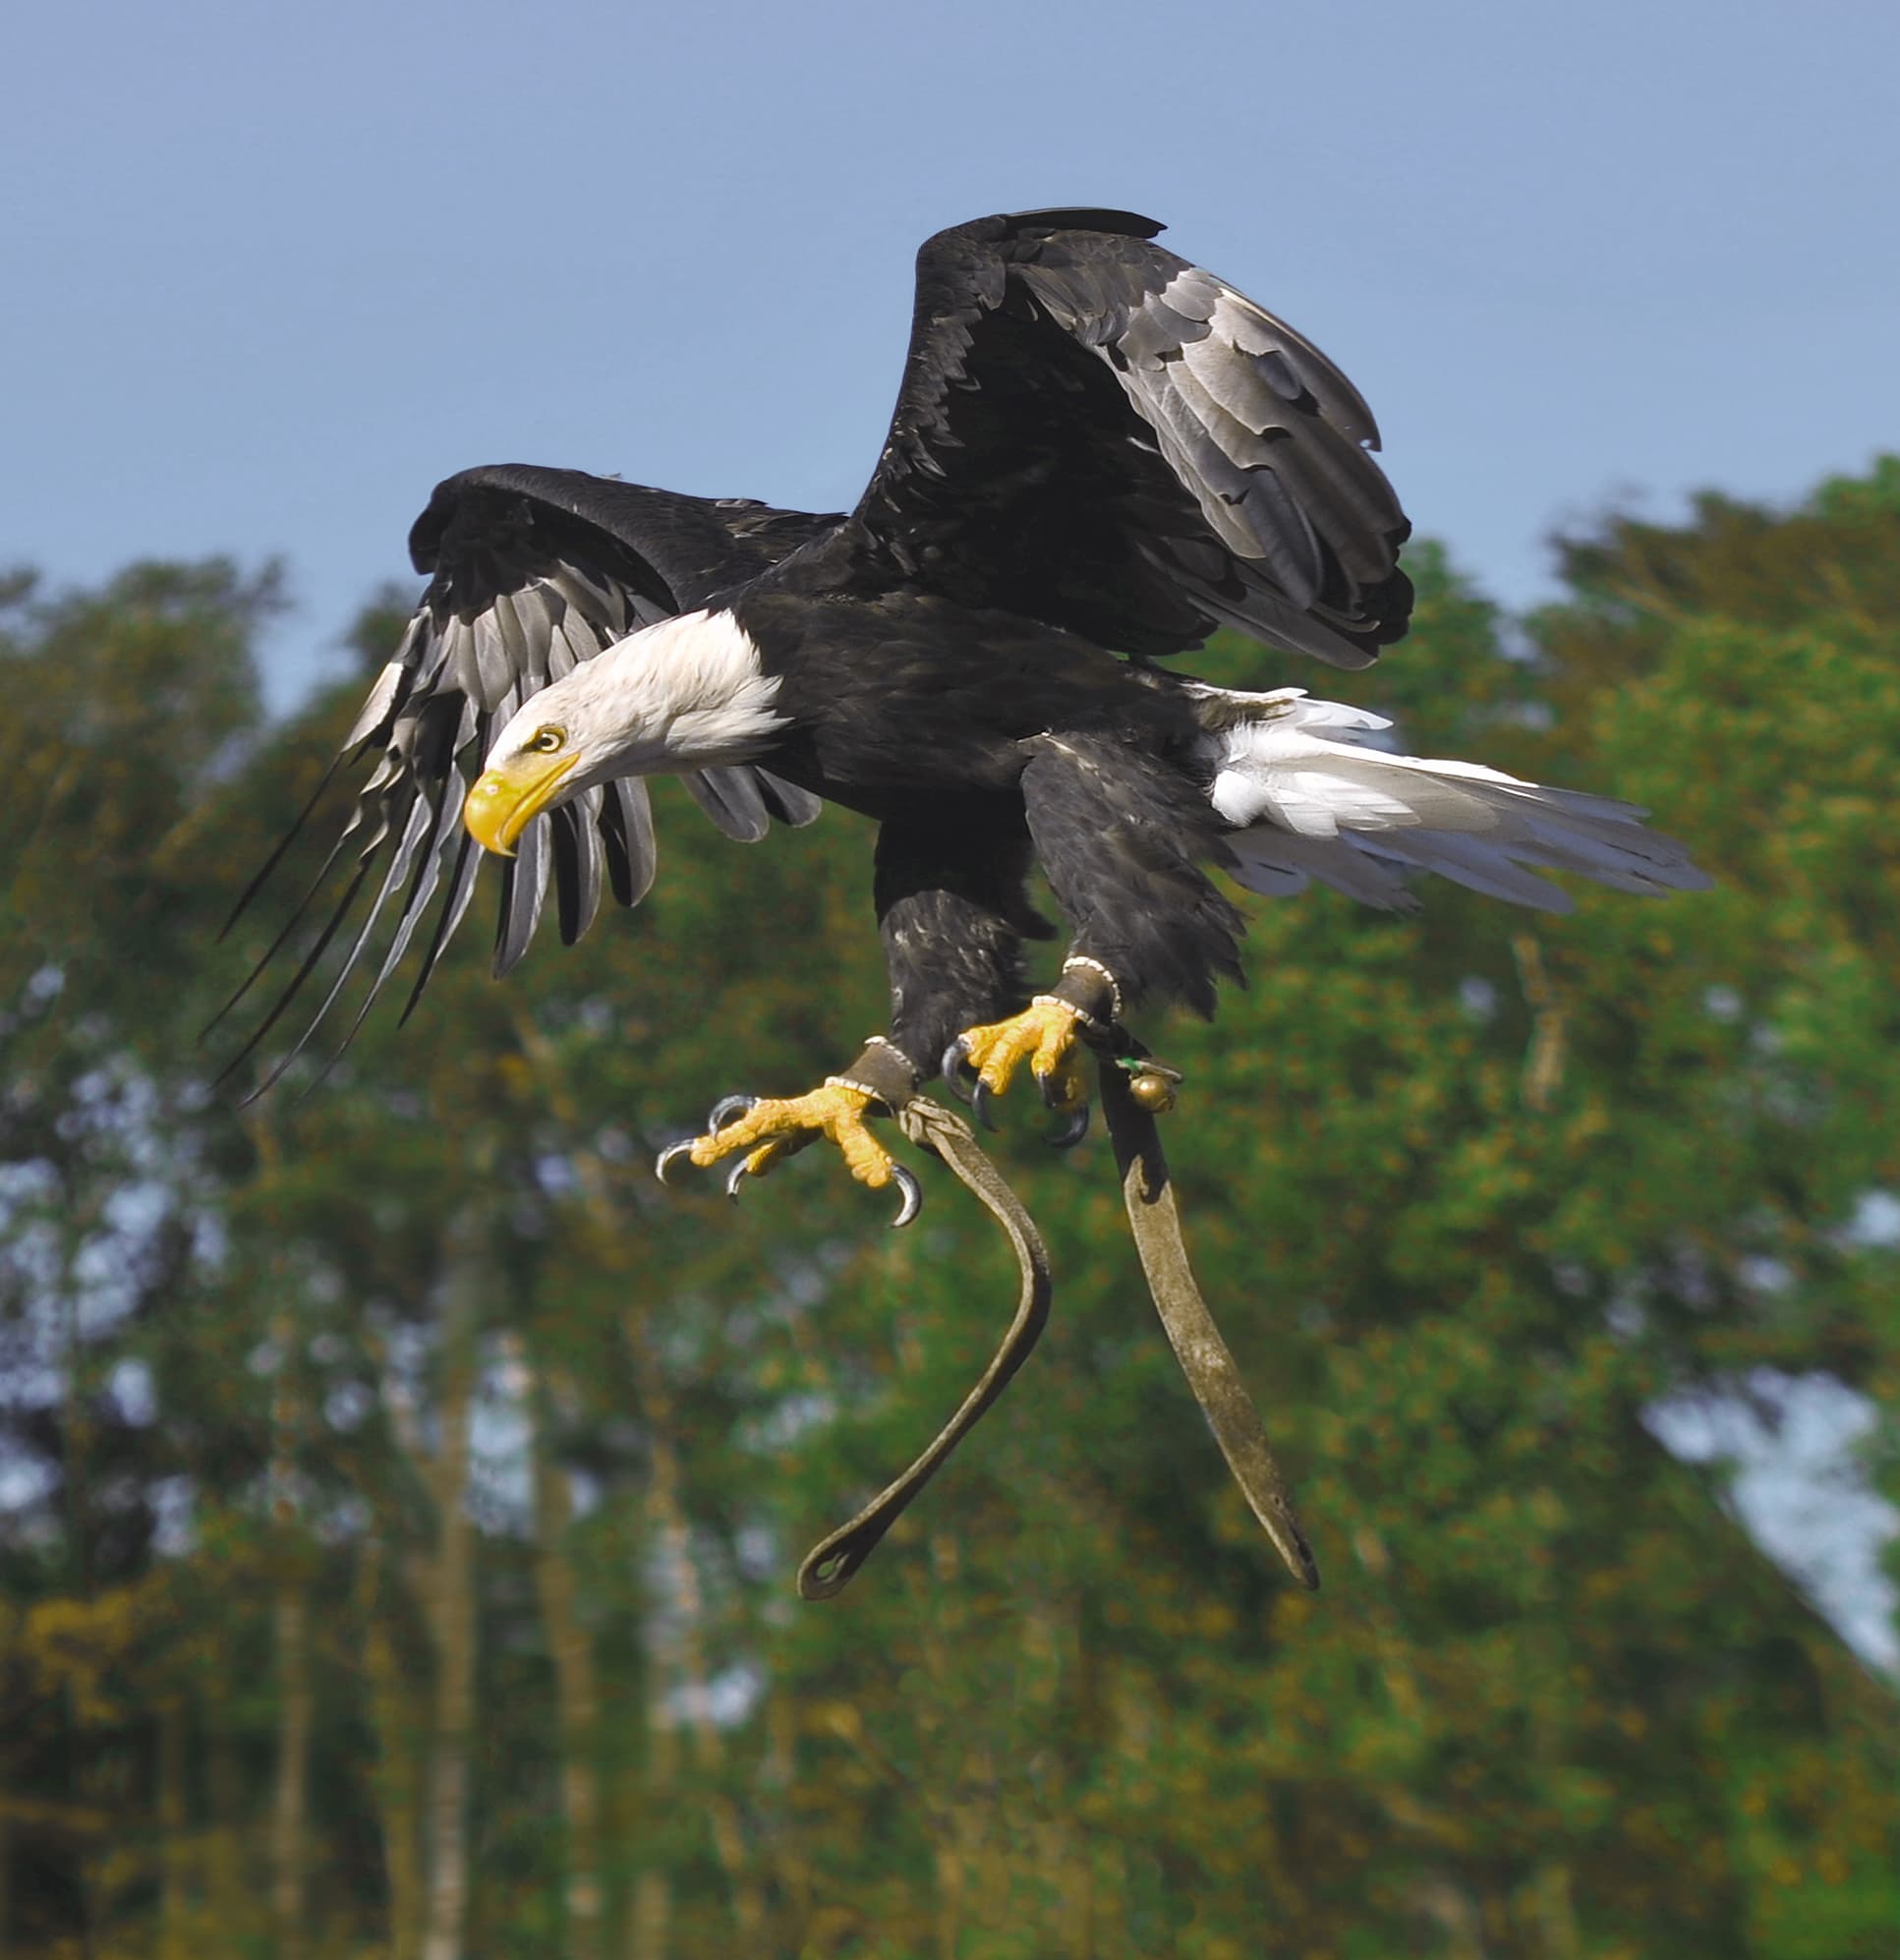
Set the drive mode to continuous high. Behaviour happens between frames, and the frame where the wings are at the top of the beat, the eye is open and the head is turned is found by shooting a short burst, not by trying to time a single exposure. Two cautions. First, the camera's buffer fills; learn how many frames yours holds before it slows, and shoot in short bursts rather than holding the button down. Second, shoot bursts only when something is happening and single frames when it is not.
RAW: always
Shoot RAW. Wildlife exposures are made quickly, in changing light, often against bright skies or in deep shade, and the RAW file preserves the latitude to correct exposure and white balance afterwards. JPEG throws that latitude away at the moment of capture. Memory cards are the cheapest part of the system; buy enough that card space is never the reason to compromise.
The pre-flight check
- Manual mode, shutter speed set for the first subject you expect, aperture wide, auto ISO on with a sensible ceiling.
- Continuous autofocus, subject detection on, tracking zone chosen, focus limiter set if useful.
- Back-button focus assigned; shutter button set to release only.
- Drive mode on continuous high; a formatted card with plenty of space; a spare battery in a warm pocket.
- RAW. Then take a test frame of anything and check the histogram before the first animal appears.
None of these settings will make a photograph on its own; they remove the reasons for missing one. With the camera prepared, the only things left to think about are the animal, the light and the background, which is exactly where your attention should be. For choosing the lens these settings go on, see our lens buying framework.
About the author
WLIFE Gear Desk
Field-tested equipment guidance. Specifications are checked against manufacturer documentation; prices are never quoted from memory.
Credits
- Words
- WLIFE Gear Desk
- Photograph
- Giles Laurent · Flatey, Iceland · CC BY-SA 4.0
- Photograph
- Michael Gäbler · Adlerwarte Berlebeck, Germany · Captive · CC BY 3.0
- Fact-check
- Not yet checked
Fact-check notes · Sample article — verify all facts before editorial publication. Shutter speed ranges are general field guidance, not measured data. EXIF values cited for the site's images were read from their Wikimedia Commons file pages on 2026-10-23.
Read next
Gear & Fieldcraft
Sample contentBest telephoto lenses for wildlife photography: how to choose
There is no single best lens, but there is a right way to decide. A framework built on focal length, aperture, weight, teleconverters and the used market.
· 8 min
Fieldcraft & Technique
Sample contentHow to photograph birds in flight
Flight photography is the hardest discipline in wildlife work and the most learnable. Approach, light, tracking, backgrounds and ethics, in the order that matters.
· 8 min
News
Sample contentWildlife Photographer of the Year: how the competition works and what the winning images teach
The Natural History Museum's annual competition is the closest thing wildlife photography has to a world championship. Here is how it is judged, what it rewards and what every entrant can learn from it.
· 6 min
The WLIFE Dispatch · weekly
The week’s best wildlife photography, in one email.
New images, photographer stories, gear tested in the field and expedition openings. Free, unsubscribe any time.