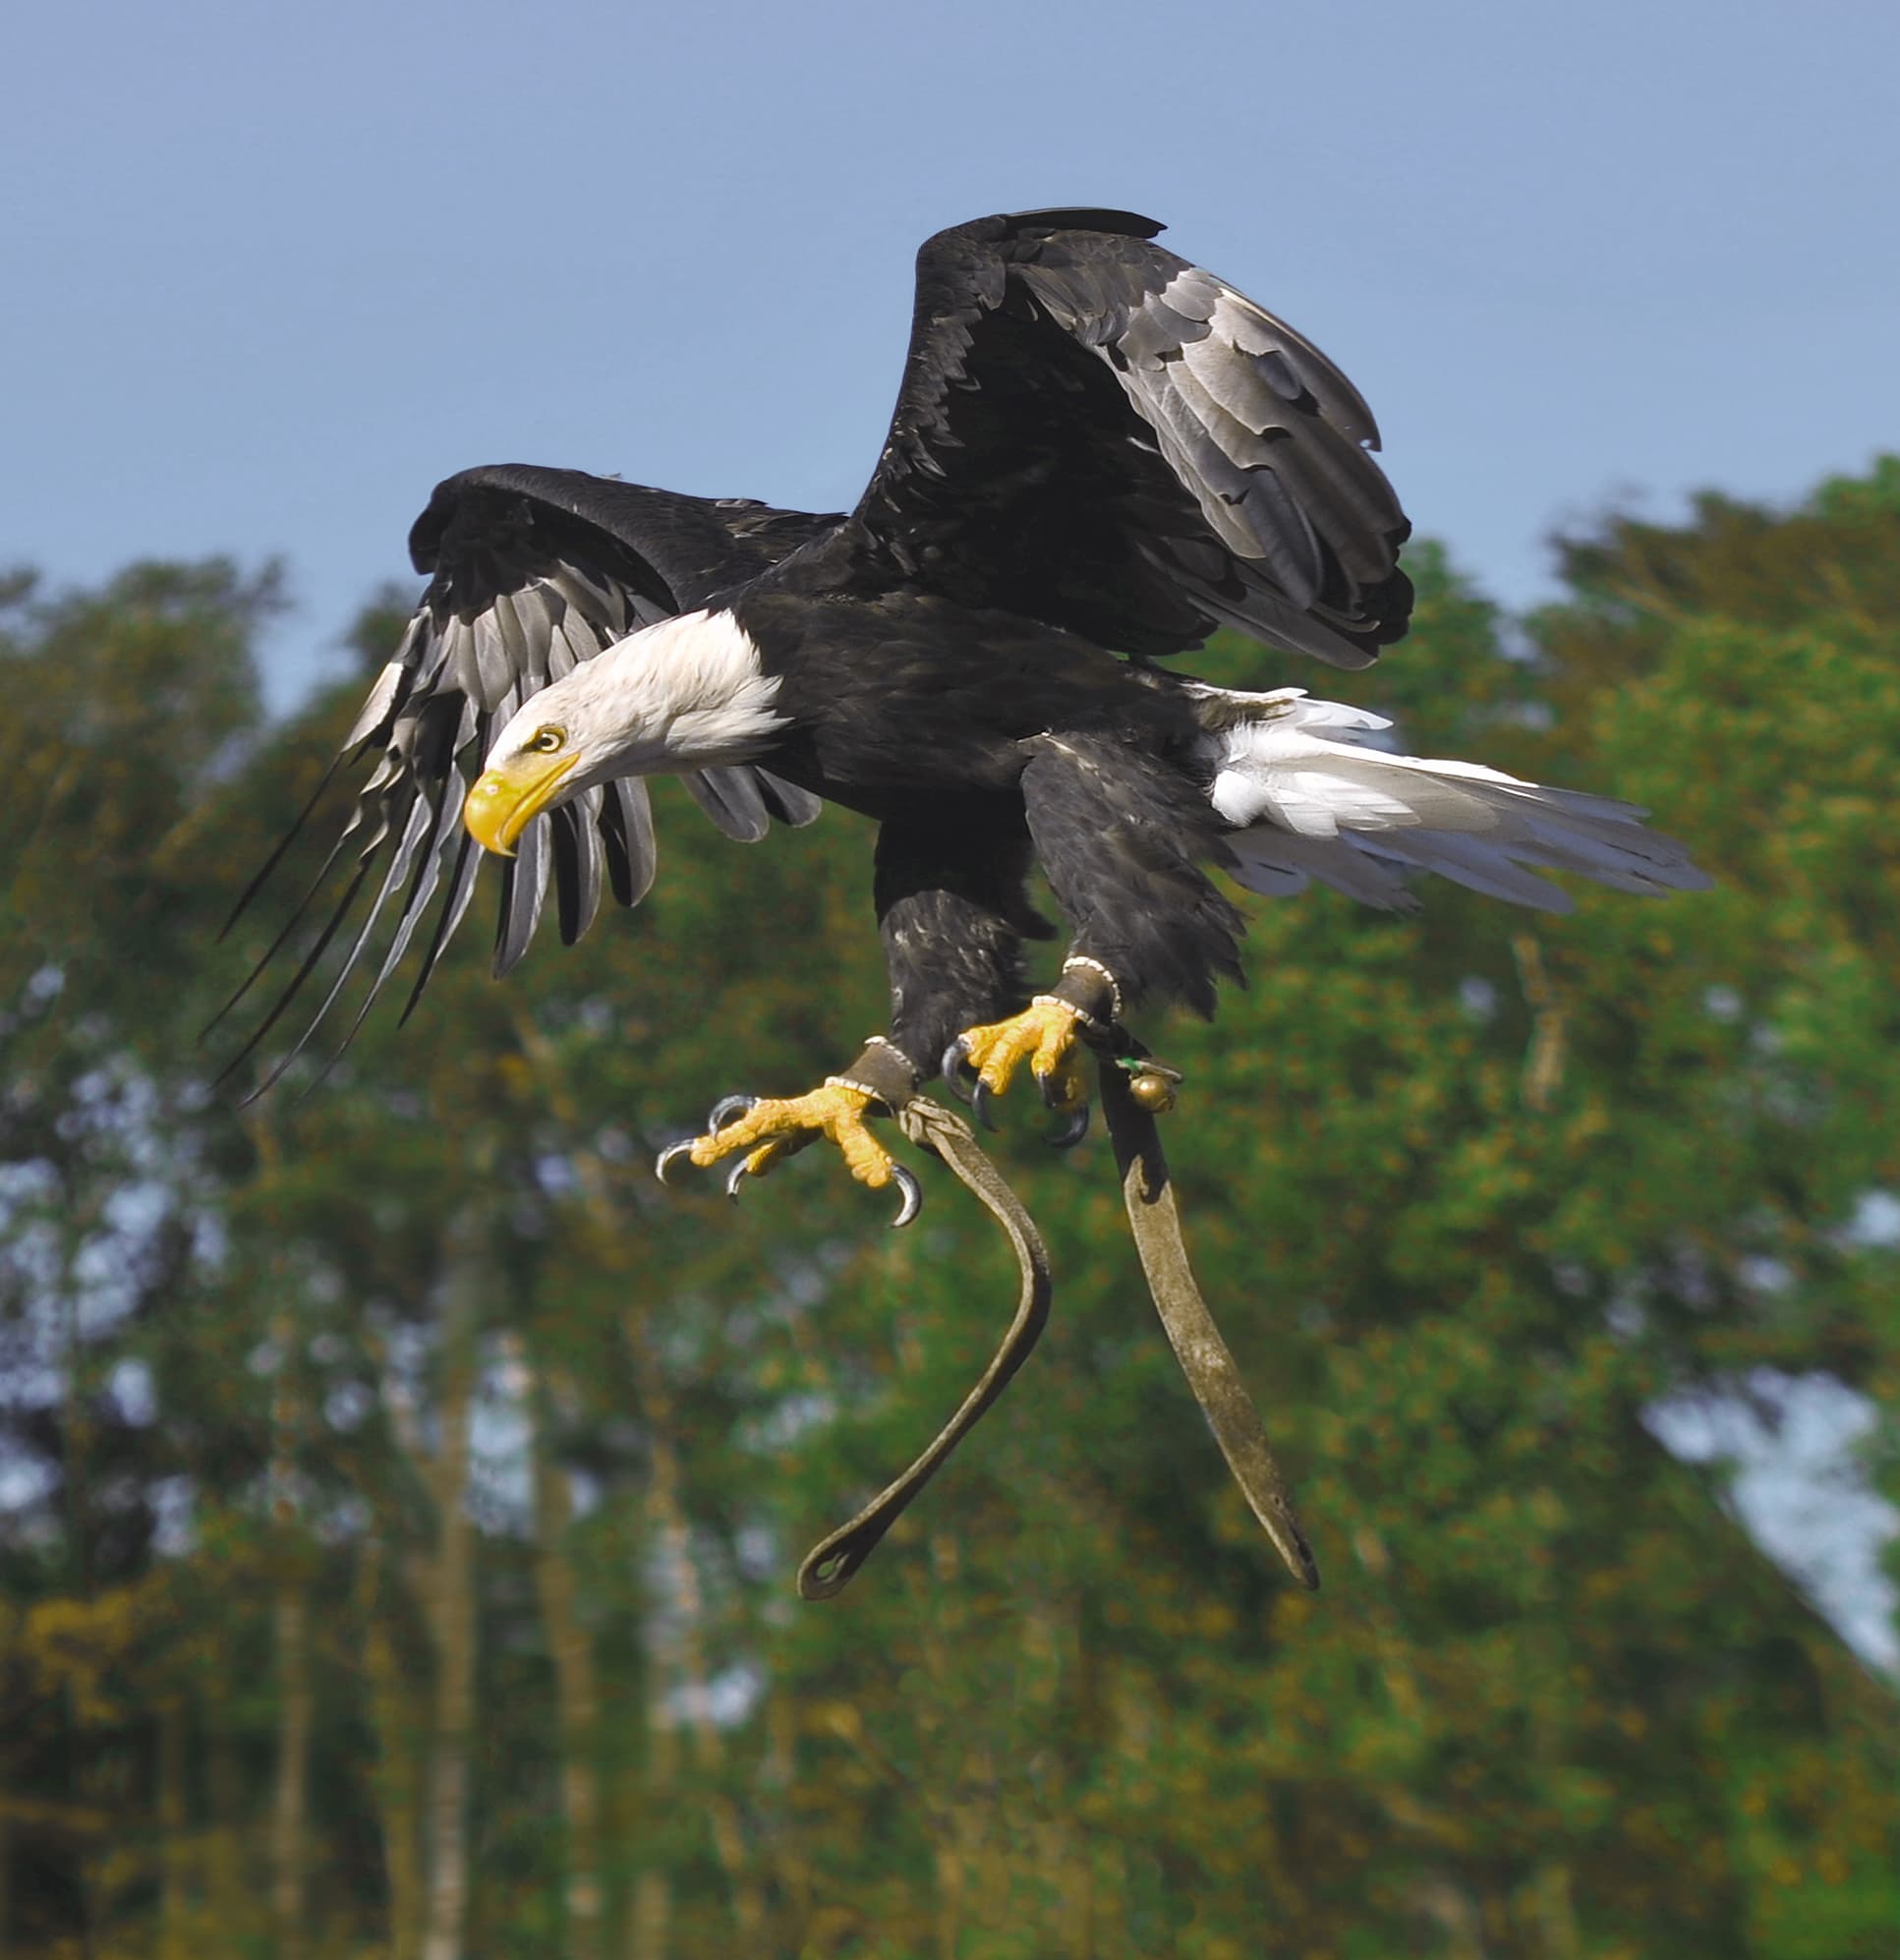
ถ่ายที่ Adlerwarte Berlebeck, GermanyCaptive
ข้อมูลกล้อง: Nikon D30060 mmf/3.51/4000 sISO 200Adlerwarte Berlebeck, Germany
บทความนี้เป็นภาษาอังกฤษเมนูและปุ่มต่างๆ เป็นภาษาไทยเปิดหน้าภาษาอังกฤษ
How to photograph birds in flight
Flight photography is the hardest discipline in wildlife work and the most learnable. Approach, light, tracking, backgrounds and ethics, in the order that matters.
โดย WLIFE Editorialอ่าน 8 นาที
Nothing in wildlife photography fails as reliably as a first attempt at birds in flight. The bird is small, fast and unpredictable; the lens is long and narrow; the autofocus has a fraction of a second to decide what matters. The good news is that flight photography rewards method more than luck. The photographers who fill their cards with sharp frames are not quicker than you. They have chosen their position, their light and their settings before the bird arrives, and they practise the one physical skill the discipline demands: keeping a moving subject in the frame. This guide works through those decisions in order.
Start with the bird, not the camera
Birds are predictable in ways that make them photographable. They take off and land into the wind. They follow the same flight lines between a roost and a feeding area, day after day. Seabirds return to a colony along a corridor; raptors circle a thermal; bee-eaters hawk insects from a favourite perch and return to it. Spend the first hour of any session watching rather than shooting, and you will learn where the birds will be and which way they will face.
Wind direction is the single most useful fact. A bird flying into a headwind is slower relative to the ground, holds a more stable line, and shows its upper surfaces to a photographer standing with the wind at their back. Combine that with the sun in the same direction and you have the classic flight set-up: wind and sun behind you, bird coming towards you.
Light: low, front and behind you
Low light early and late in the day does three things for flight photography. It lights the underside of the wings, which midday sun leaves in shadow. It puts a catchlight in the eye, which is the difference between a bird that looks alive and one that looks stuffed. And it warms the colour of pale plumage that would otherwise burn out. Front light, with the sun directly behind the camera, is the most forgiving; it is also the most conventional. Side light shows the shape of the wing; backlight gives a rim of light around the feathers and a dark background, at the cost of detail.
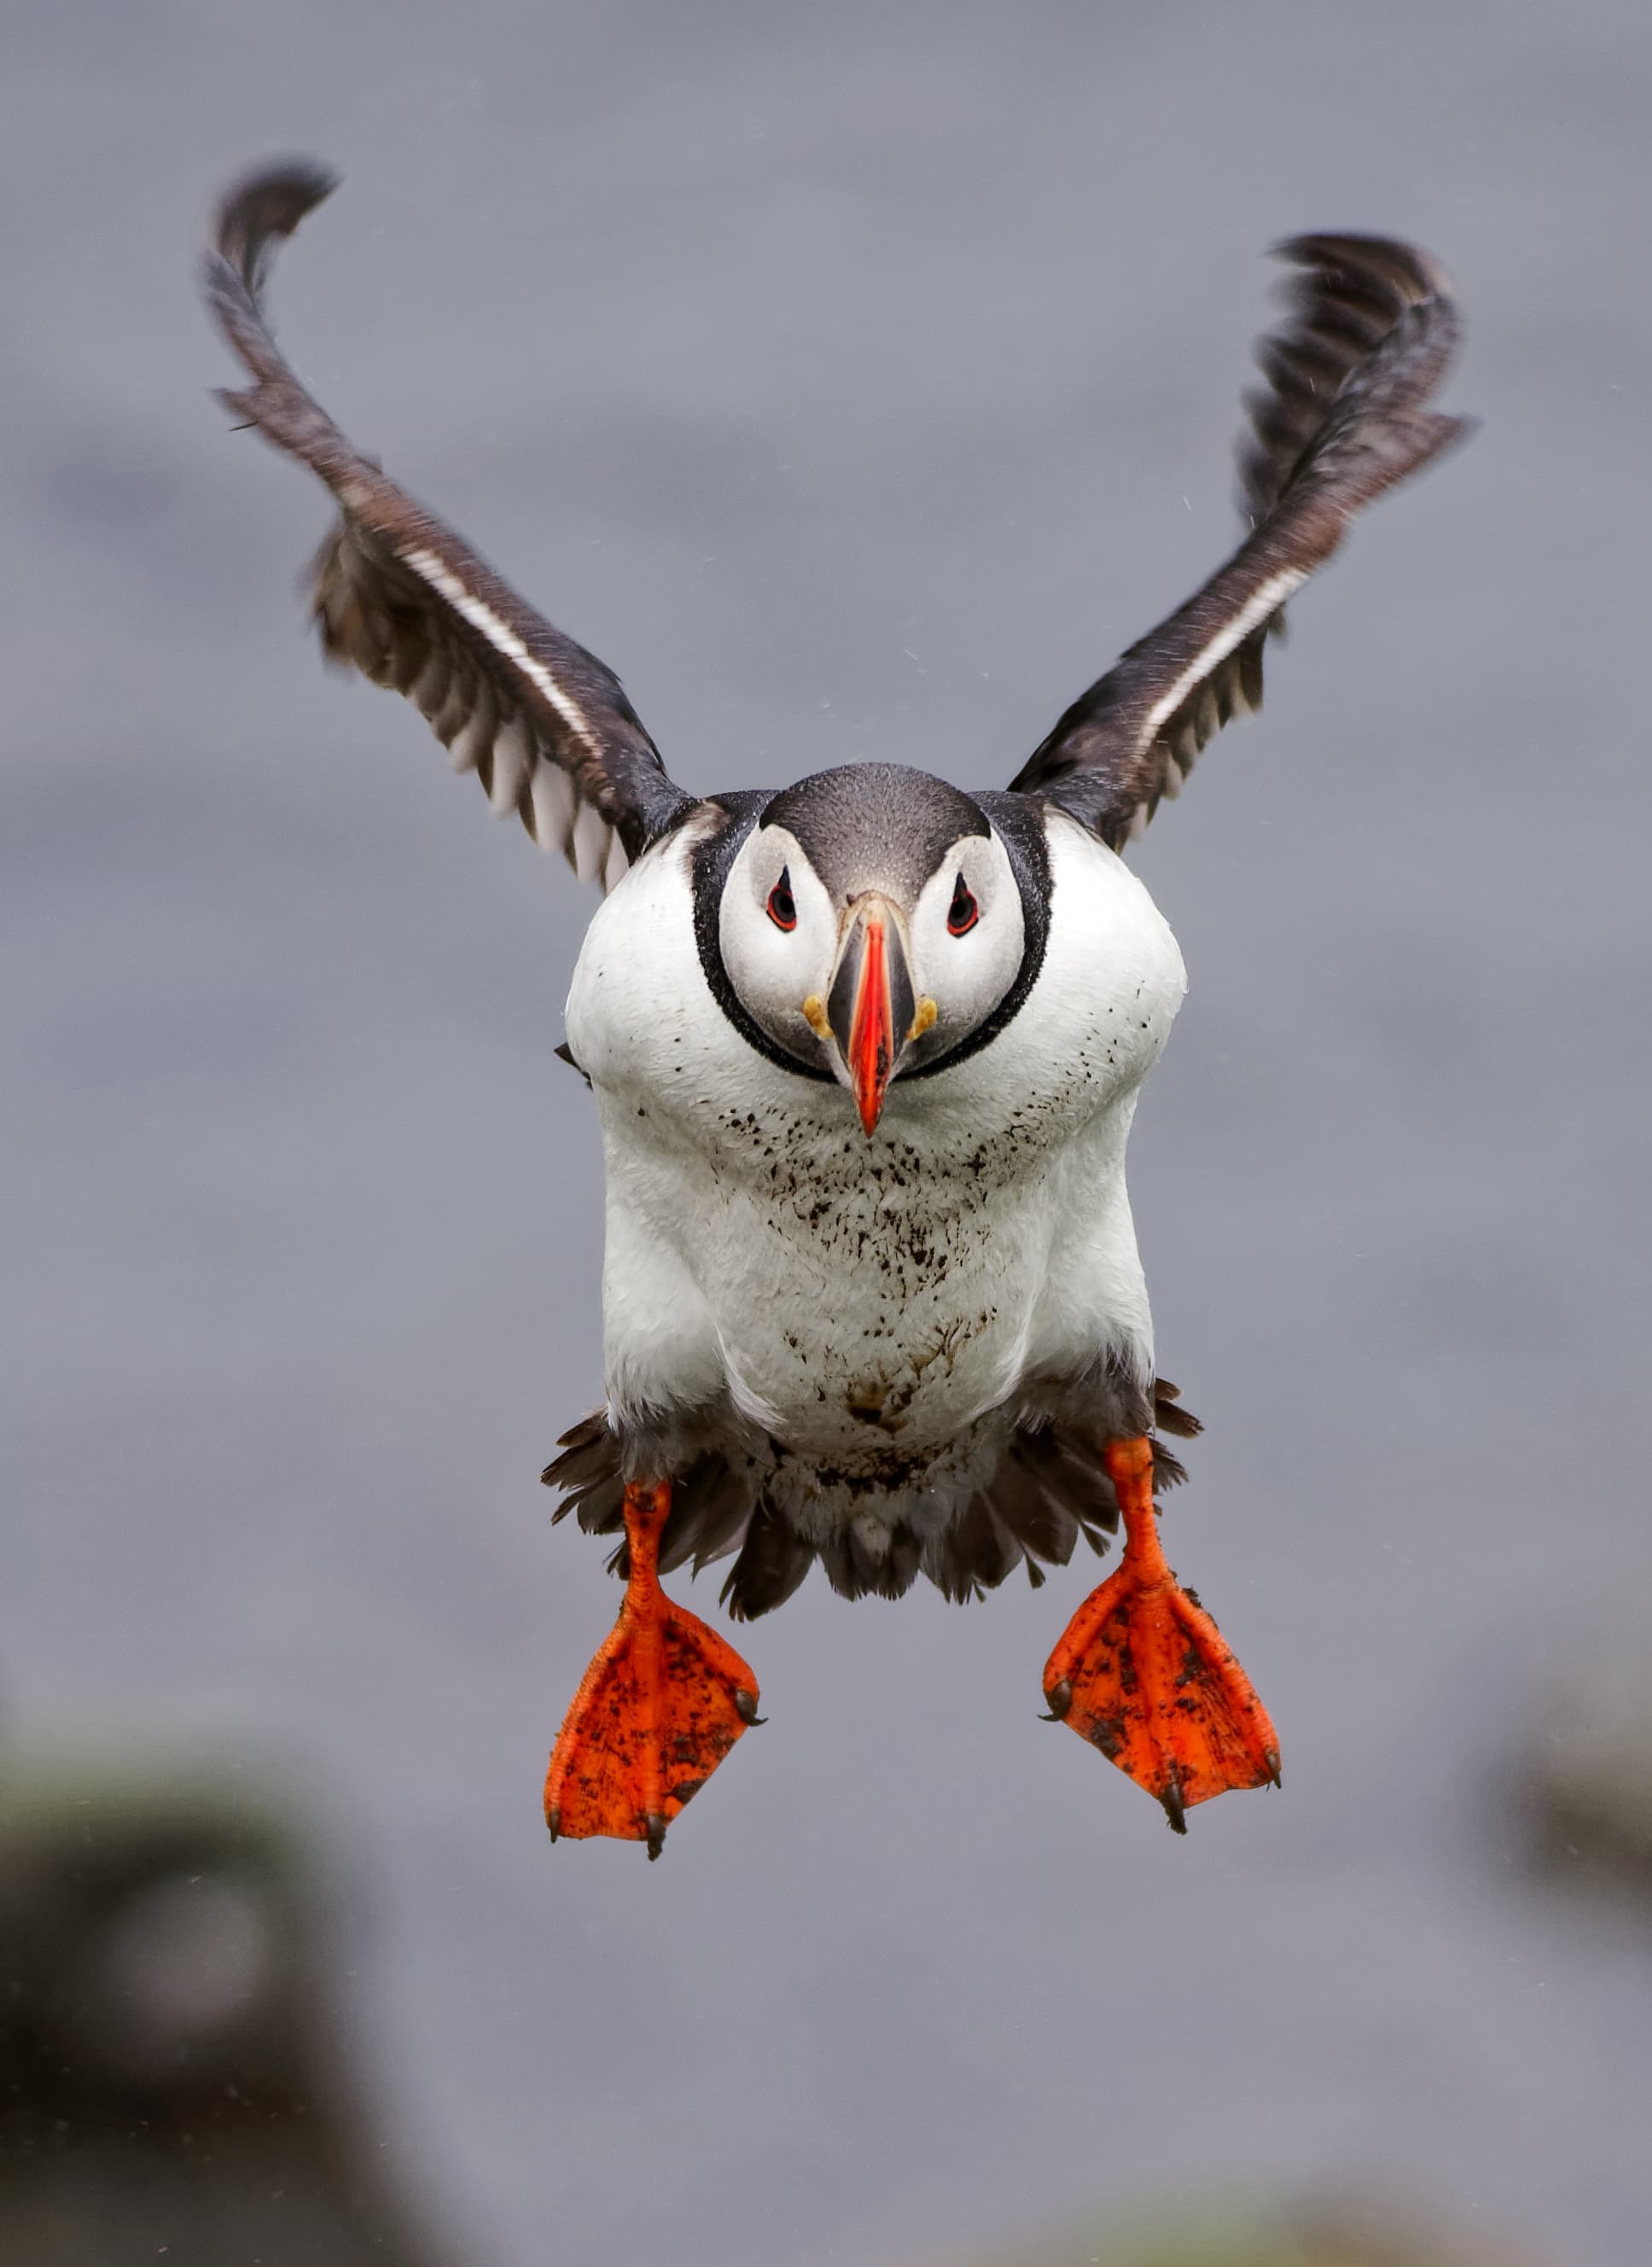
Settings for flight
Our camera settings guide covers the general case; for flight the priorities are sharper. Shutter speed first: 1/2000 s is a sensible floor for most birds and small fast species want more, which means accepting a high ISO rather than a slow shutter. Manual exposure with auto ISO lets you fix the shutter and aperture and forget the rest. Continuous autofocus with a tracking zone and bird detection where your camera offers it. Continuous high drive, in short bursts.
One setting is often forgotten: pre-focus. Before the bird appears, focus on something at roughly the distance you expect it, such as the perch it will leave or the water it will cross. Autofocus acquires a subject far faster from a nearby starting point than from infinity or from the minimum distance, and a focus limiter set to the far range stops the lens racking through the close range when it loses the bird.
Tracking: the physical skill
Everything above can be set in advance. Tracking cannot; it is a motor skill, and it is practised like any other. The technique is to find the bird in the viewfinder while it is still far away and small, lock focus, and then move the camera smoothly with the bird so that it stays in the same part of the frame as it approaches. Rotate from the hips with the elbows tucked, not from the arms. Keep both eyes open if you can, so that the eye not at the viewfinder sees the bird before it enters the frame.
- Practise on common, abundant birds: gulls, pigeons, crows. They fly the same way as rare ones and nobody minds if you miss.
- Shoot bursts of three to six frames as the bird reaches the best position, not continuously from first sight.
- Review in the field: if the eye is soft, the problem is tracking or focus; if the wingtips are soft, it is shutter speed.
Backgrounds: choose them before the bird does
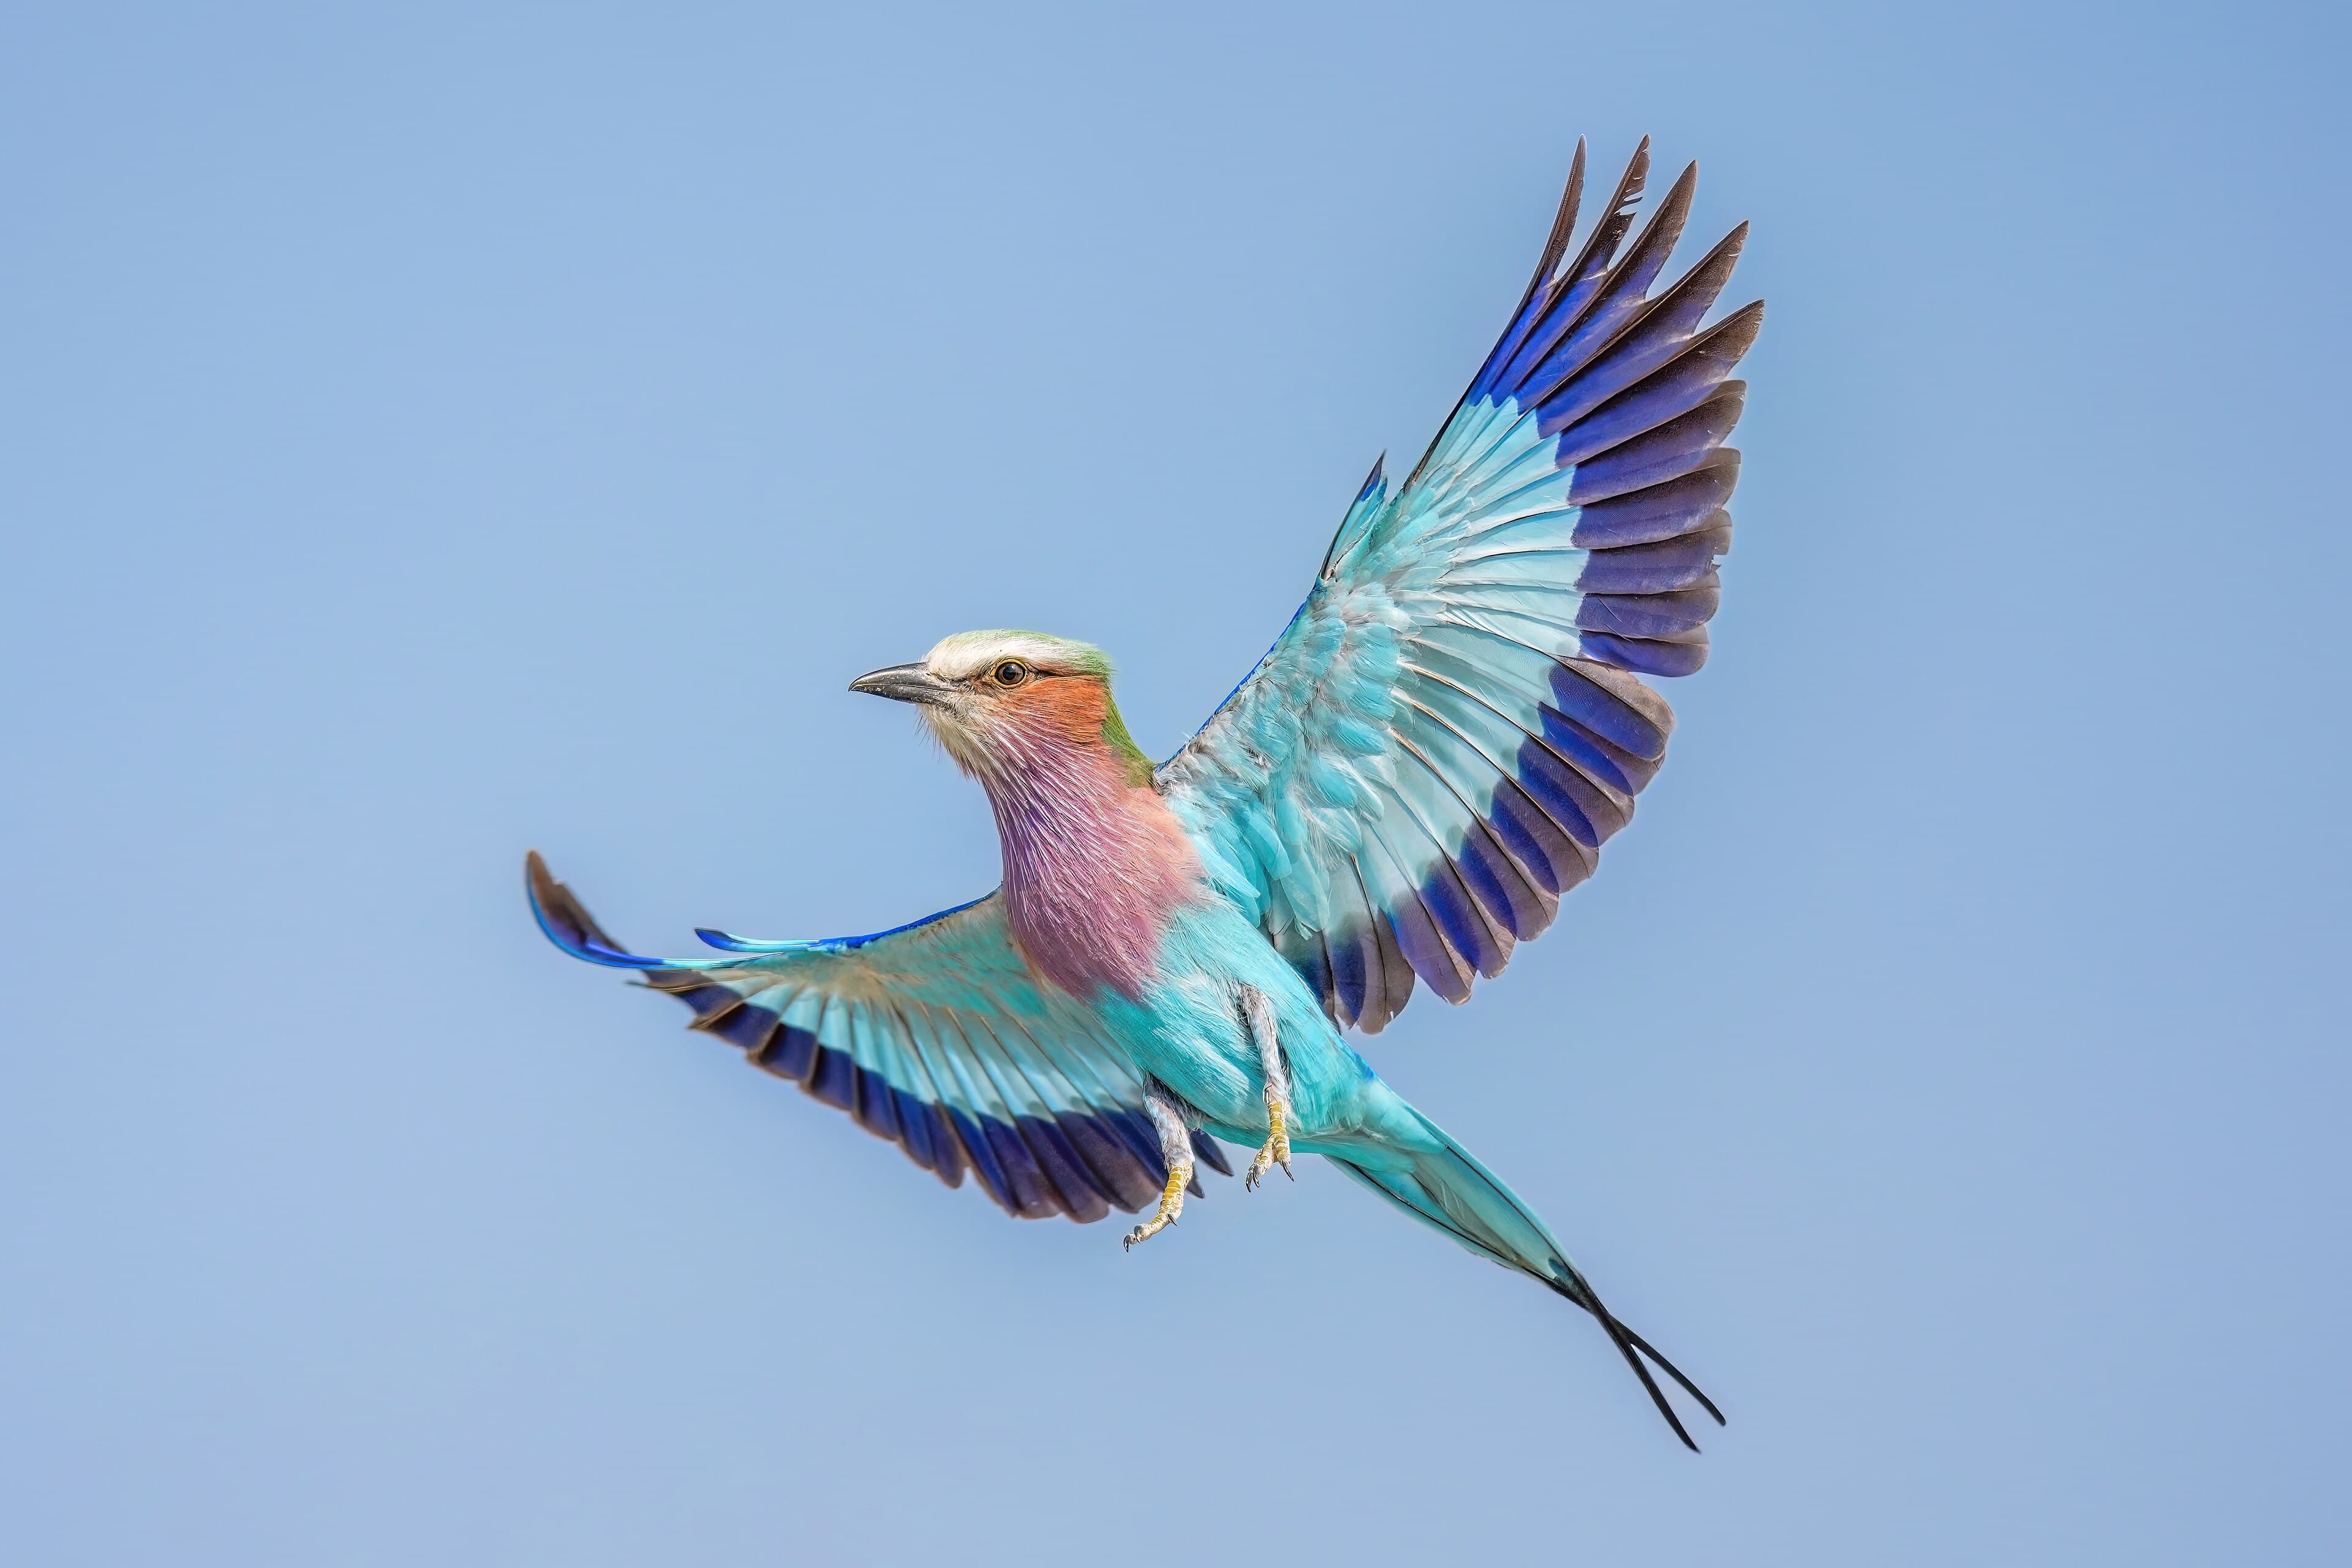
A sharp bird against a cluttered background is a record shot; the same bird against clean sky, water or distant tone is a photograph. Because you cannot move once the bird is in the frame, the background is chosen when you pick your position. Look at what lies beyond the flight line: open sky is reliable but can be flat; water reflecting sky gives colour; a distant, shaded hillside gives a dark, even tone that makes a pale bird glow. Lowering your own position often lifts the bird against the sky and removes the ground entirely.

Ethics: the bird's day matters more than your frame
Flight photography tempts photographers into bad behaviour because flushing a bird produces a flight shot. Do not do it. A bird forced into the air burns energy it may need, abandons food, and, at a nest or roost, may leave eggs or chicks exposed. The flight images worth making are of birds flying because they chose to: commuting, hunting, displaying, returning to a colony. The same applies to playback of calls, which is prohibited by major competitions as a form of baiting and which can disrupt territorial and breeding behaviour.
- Never flush a bird for a photograph, and leave immediately if your presence is changing its behaviour.
- Keep well back from nests, roosts and colonies, and follow local access rules and seasonal closures.
- Do not use call playback or food to draw birds into a position.
- Caption honestly: say if an image is a composite or a captive bird, as the photographers whose work appears here do.
The reward for patience is the kind of image no provocation produces: a puffin arriving with a full beak, an eagle folding into a dive. These are moments you were allowed to witness. Treat the permission as conditional, because it is.
แหล่งที่มา
เกี่ยวกับผู้เขียน
WLIFE Editorial
The WLIFE editorial desk researches, writes and fact-checks stories about wildlife photography, photographers, equipment and expeditions.
เครดิต
- เรื่อง
- WLIFE Editorial
- ภาพ
- Michael Gäbler · Adlerwarte Berlebeck, Germany · Captive · CC BY 3.0
- ภาพ
- Jakub Hałun · Bakkagerði, Borgarfjörður eystri, Iceland · CC BY 4.0
- ภาพ
- Giles Laurent · Etosha National Park, Namibia · CC BY-SA 4.0
- ภาพ
- Laitche · Tennōji Park, Osaka, Japan · CC BY-SA 4.0
- ตรวจสอบข้อเท็จจริง
- ยังไม่ได้ตรวจสอบ
บันทึกการตรวจสอบข้อเท็จจริง · Sample article — verify all facts before editorial publication. Technique guidance is general field practice. Statements about competition rules on baiting with sound are from nhm.ac.uk/wpy/competition; EXIF values from the Commons pages of the images used (puffin, roller and egret images read on 2026-11-03).
อ่านต่อ
อุปกรณ์และทักษะภาคสนาม
เนื้อหาตัวอย่างWildlife photography camera settings: a field-proven starting point
Shutter speeds for birds and mammals, auto ISO, autofocus modes, back-button focus, burst and RAW: the settings to dial in before the animal appears, and why.
· 8 นาที
เบื้องหลังภาพ
เนื้อหาตัวอย่างBehind the shot: three bee-eaters that are one bird
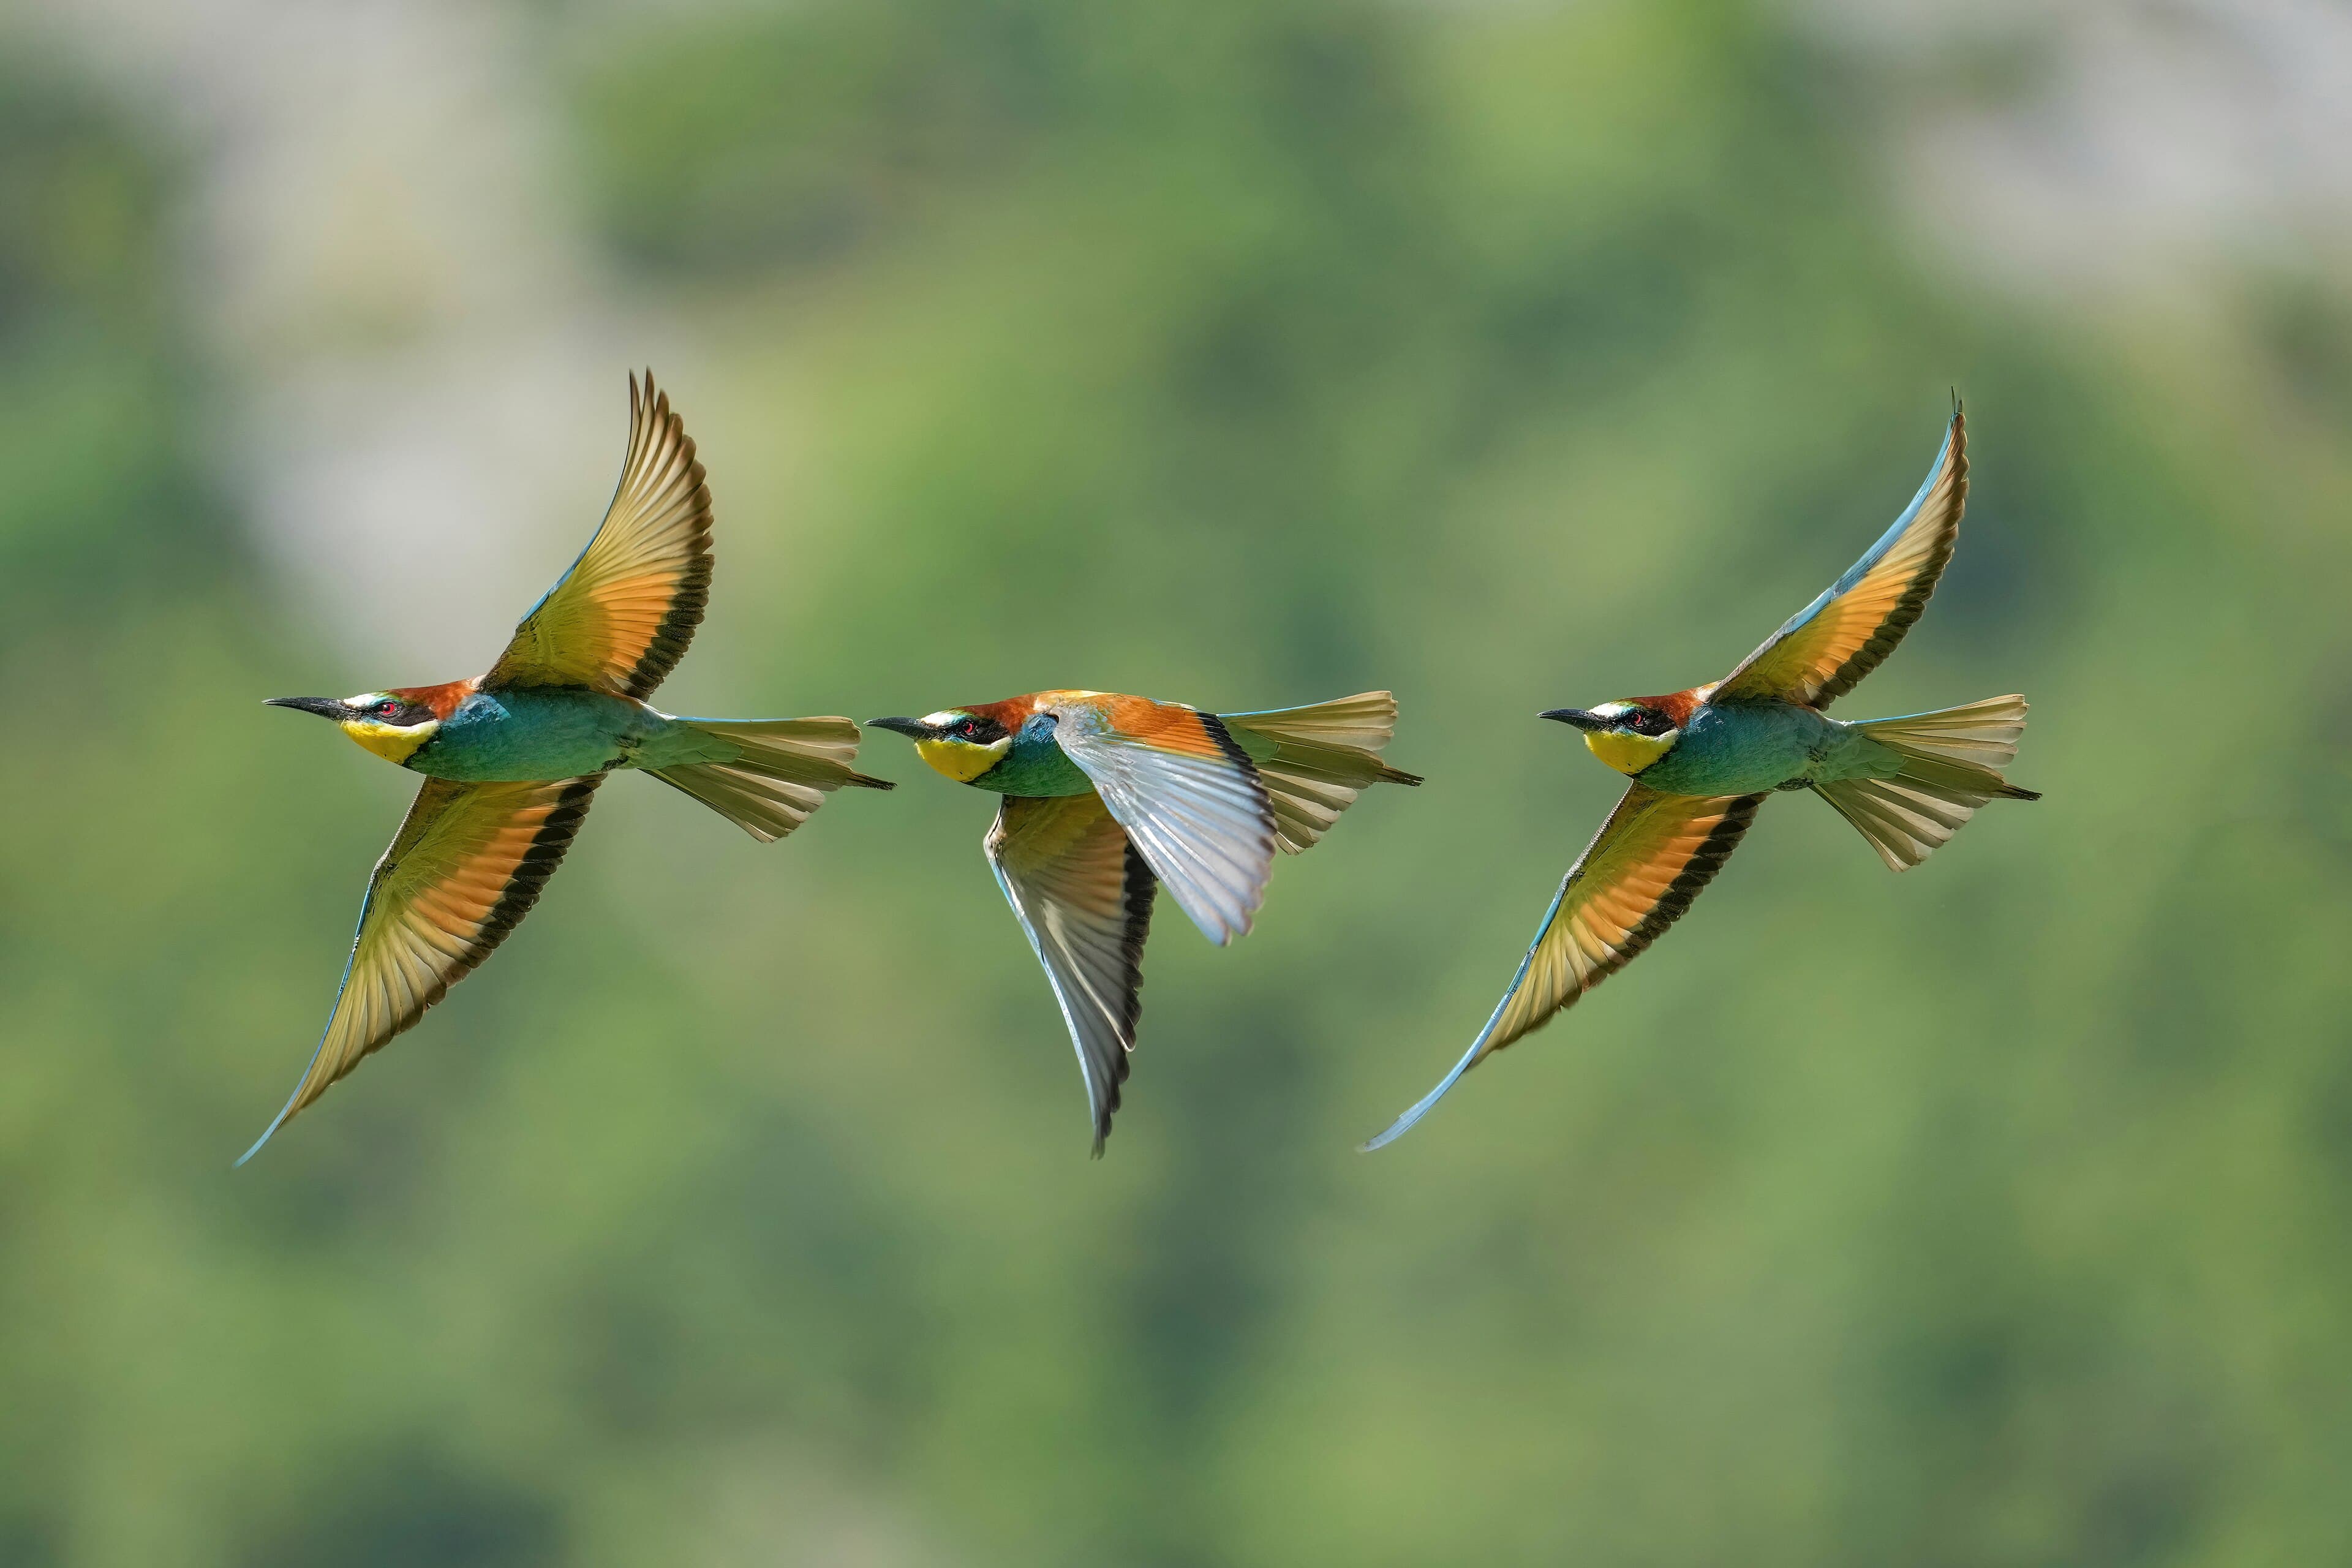
Giles Laurent's stacked sequence of a European bee-eater shows the whole arc of a wingbeat in a single frame. Here is what a stacked image is, how this one was built, and why saying so matters.
· 6 นาที
ข่าว
เนื้อหาตัวอย่างWildlife Photographer of the Year: how the competition works and what the winning images teach
The Natural History Museum's annual competition is the closest thing wildlife photography has to a world championship. Here is how it is judged, what it rewards and what every entrant can learn from it.
· 6 นาที
The WLIFE Dispatch · รายสัปดาห์
ภาพถ่ายสัตว์ป่าที่ดีที่สุดของสัปดาห์ ในอีเมลฉบับเดียว
ภาพใหม่ เรื่องราวของช่างภาพ อุปกรณ์ที่ทดสอบในภาคสนาม และทริปสำรวจที่เปิดรับ ฟรี ยกเลิกรับได้ทุกเมื่อ